
Learning to love your database as a non-technical founder
The lean analytics setup we use with every client (now)
“Hey, is there any way for us to tell who has downloaded the app?”
This was a question we got from a client a few months ago. It’s a pretty reasonable thing to ask. They were selling a SaaS product with an app for their customers’ clients to use, and they wanted to be able to tell them who was using it.
“Uhhhhh… no. Not really.”

Unfortunately, we didn’t have a good answer for them. We had gotten so caught up in building the product and keeping costs down, we had forgotten to build in any sort of analytics.
We learned from our mistake, and we started testing new analytics setups (Value No. 2 - Always be Learning).
We tested them with our own product, Albatross, first. And now that we’ve found something we like, we’ll use it with every new client project from the beginning.
The auto analytics setup we stole from Justin Jackson
The first half of our analytics setup uses 3 incredibly powerful tools:
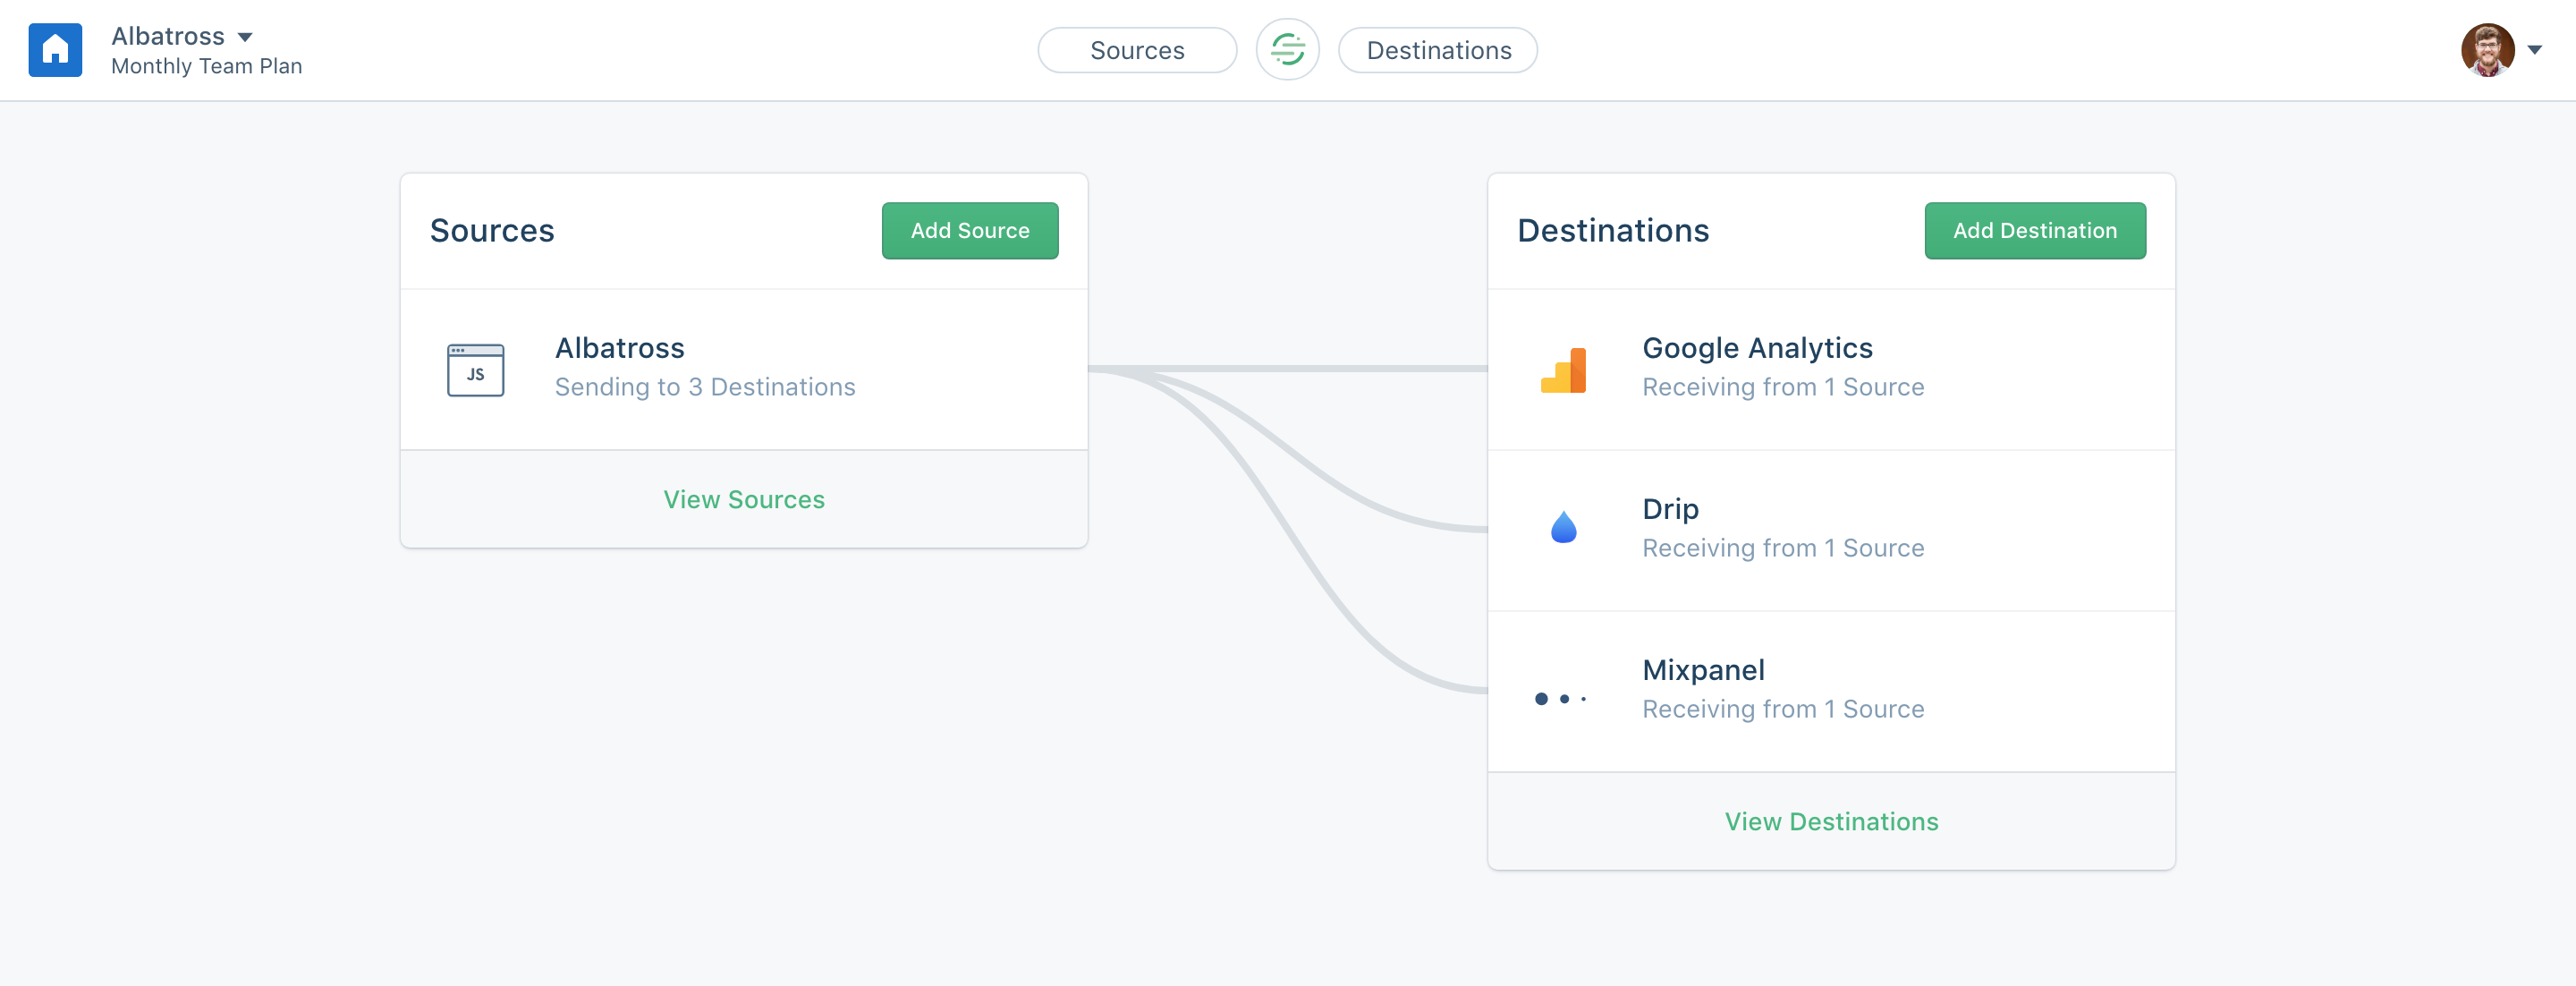
1. Segment
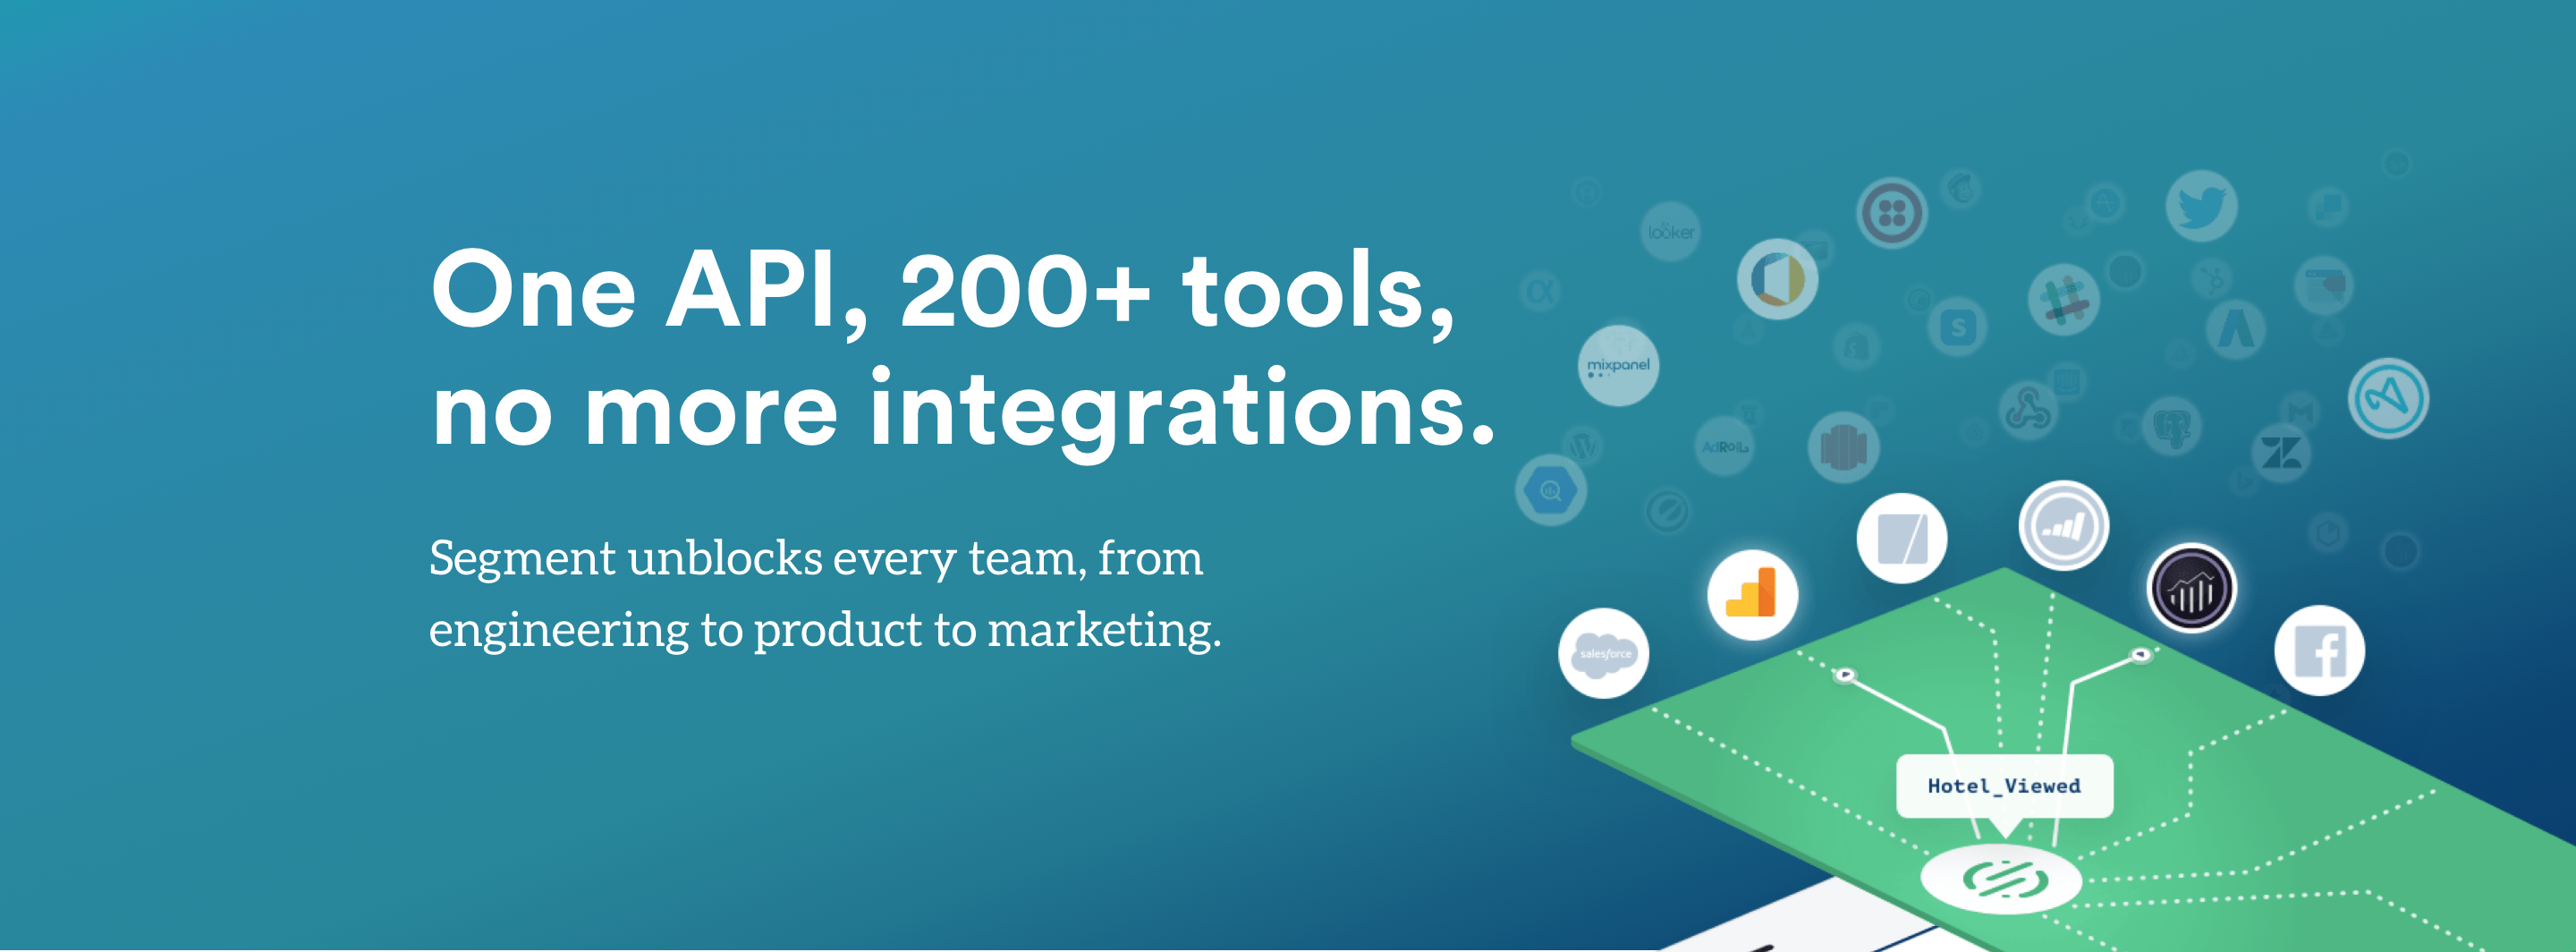
Segment is an incredible tool that serves as a middle man between every other analytics tool you’ll ever need. You can build their reporting features into your app, and then integrate any other tool with a couple of clicks. Code once, reap the benefits from then on. That’s the kind of smartcut we like to see.
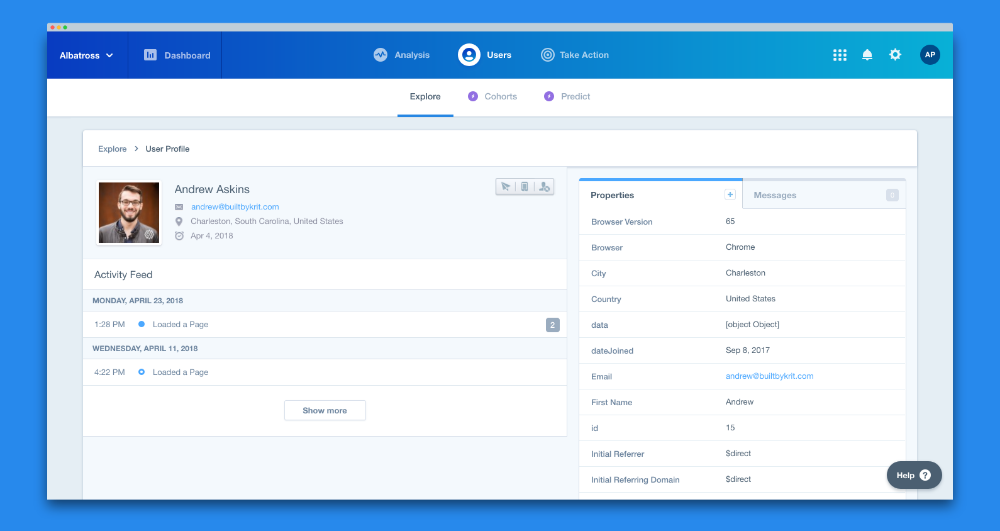
2. Mixpanel
Mixpanel makes it easy to take all that data from Segment and track your users through their journey. You can build custom funnels, inspect individual users, and more.
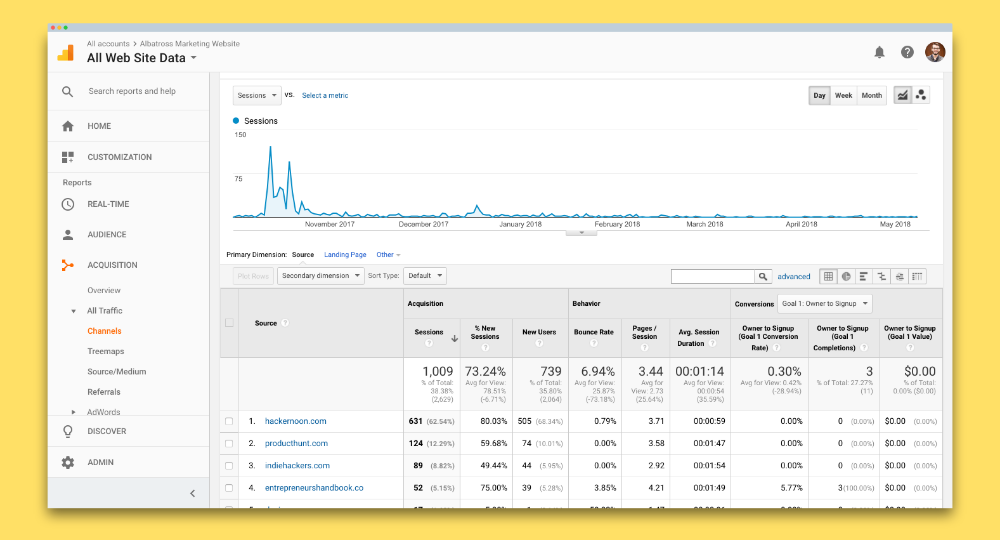
3. Google Analytics
The gold standard in analytics, Google Analytics is a massive tool that can tell you a million different things if you know how to set it up. We keep the setup pretty basic and focus on using GA to find out where our traffic is coming from, which organic search terms are working and how fast/usable our marketing site is.
Occasionally we’ll throw in Hotjar when we need to debug a user experience problem, or need something simpler than Google Analytics.
We stole 100% of this setup from Justin Jackson’s incredible course Marketing for Developers. If you just want to learn about how to set up these analytics tools then he has a new course called Master Your Analytics.

If you’re more the DIY type, you can dig through Segment’s documentation and the Mixpanel docs. They get a little technical, but you can find everything you need for getting your base set up there (you won’t need to be a full-fledged programmer to set these up, but you will need to be able to copy and paste some code without getting overwhelmed).
And Moz, the industry leader on SEO, has an awesome guide to the basics of Google Analytics.
Where auto analytics always fail
This setup works great for giving you an idea of where your traffic is coming from, and a high level view of your product usage. It’s cheap, relatively easy to set up, and can give you powerful insights.
I highly recommend you use this a base. And the sooner you set it up, the more data you’ll have to work with.
But there are two ways this stack falls short:
1. Analytics tools only work as well as you tell to
Often, you don’t know exactly what you need to track until you have a critical mass of active users. And when you’re first getting your product off the ground you’re making changes constantly. This means you’re constantly having to tweak what you’re tracking (which you should do).

2. They don’t give you a deep insight into your users’ data
Most analytics tools give you some insight into how your users are interacting with your product. They may also tell you where those users are coming from, or a little bit about who they are. But they typically don’t show you the actual data your users are creating.
This data can tell you a lot about the value of your product. What kinds of projects are your users creating? What kinds of content are they sharing?
To get this, you need to dig a little deeper than Google Analytics will let you.
Why you should learn a little bit of SQL
In order to really get down and dirty with your data, you’re going to need to dig into your database.

DON’T PANIC!
A database is basically just a more complicated Excel spreadsheet, so if you’ve passed a high school computer class, you can do this.
You’ll be able to do almost everything you need without writing a lick of code, thanks to tools like Postico that give you a simple app for exploring your database.
To get the absolute most out of your data, you’ll want to learn a tiny bit of SQL.
OH MY GAWD SQL SOUNDS SCARY.

I told you not to panic! SQL (or “Standard Query Language”) looks almost like straight English. It’s really not hard to learn. It’s how developers store and retrieve data in a relational database.
There are also document based databases like MongoDB, but for this post we’re going to pretend these don’t exist.
Setting up Postico
To start interacting with your database, you’ll need to download an app that lets you connect to it. I recommend Postico if you’re on a Mac. Getting set up with Postico and exploring your database isn’t difficult, provided you know a few key pieces of information.
When you open Postico you’ll see a list of favorites.
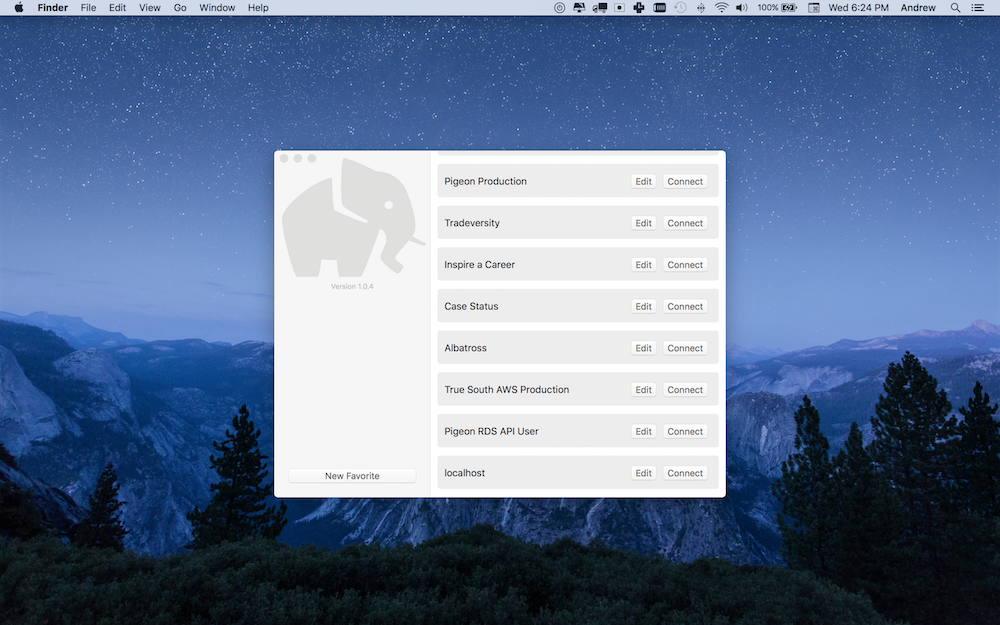
To connect to your database, create a new favorite:
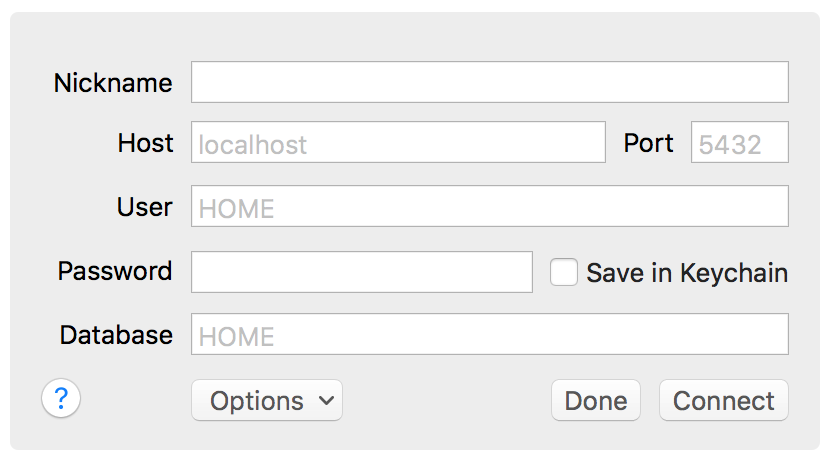
You’ll need to get a few things from your developer to connect:
- Host: The host is the url that tells your computer where your database is located. It could be as simple as google.com.
- Port: Think of ports like the doors in your house. Different doors have different functions. You wouldn’t want to try to park your car by going through the front door. Likewise, you need to tell Postico which door your database uses (5432 is the standard for a Postgres database).
- User: The username for your database.
- Password: The password for your database.
- Database: A server can have multiple databases, so you need to tell Postico which one to access.
You’ll also want to ask your developer if you need to connect via SSH. If so, you’re going to need a few more things.
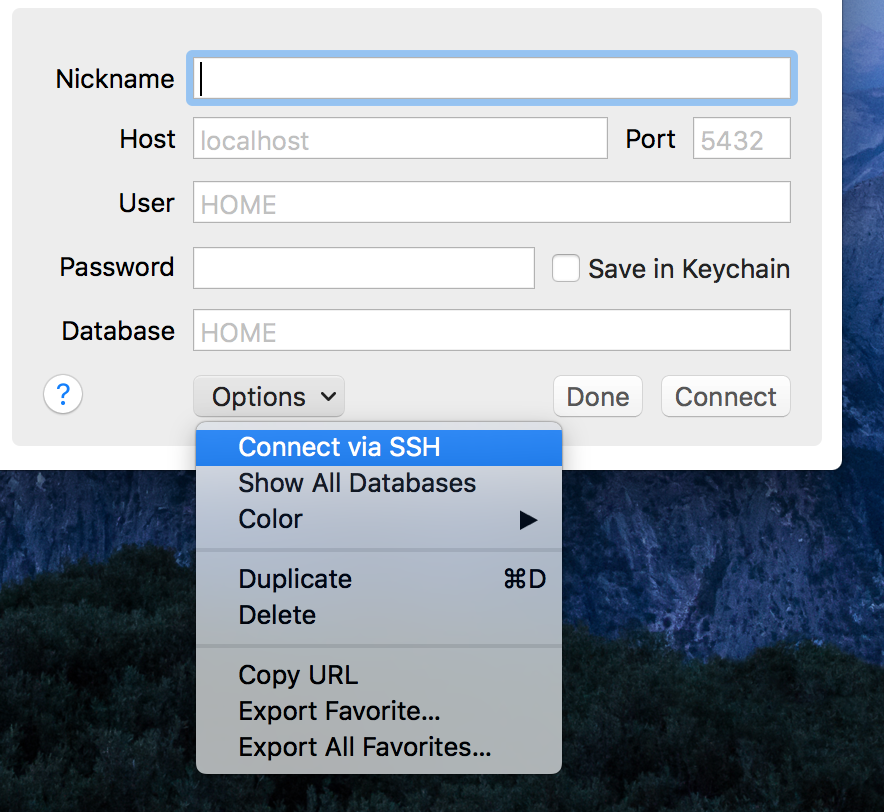
- SSH Host: If you have to connect via SSH, it’s because your database isn’t accessible to most computers. So you’ll have to remotely access a computer in your database’s network. The SSH Host is the URL that points to that computer.
- Port: Again, you’ll need to tell Postico which door to use. The default is 22.
- User: Username
- Password: Password
- Private key: A private key is basically a really long password that’s way more secure. If you’re using a private key you won’t need a password.
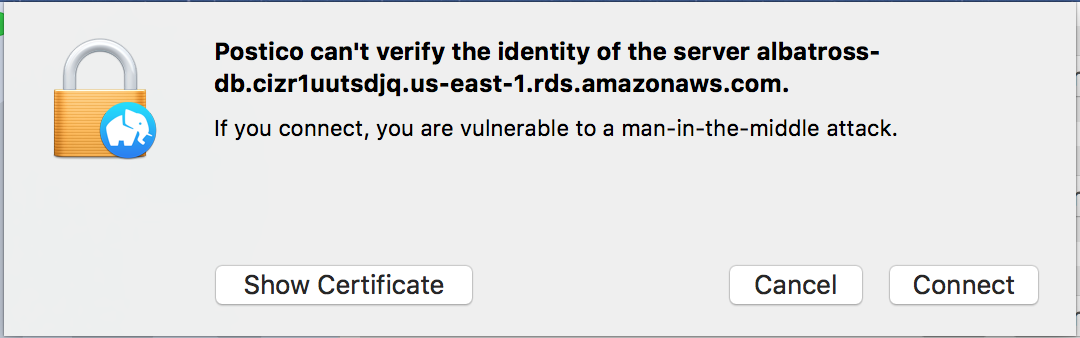
Fill in everything, pick a nickname, and then hit connect. You may get a message like the one below. That’s okay, it’s a security precaution. Just make sure you’re connecting to the right machine.
Once you’re in, you should see something like this. These are your database tables (think sheets in an Excel document).

If you double click on a table, you’ll see your actual data. Be careful, this is live data.
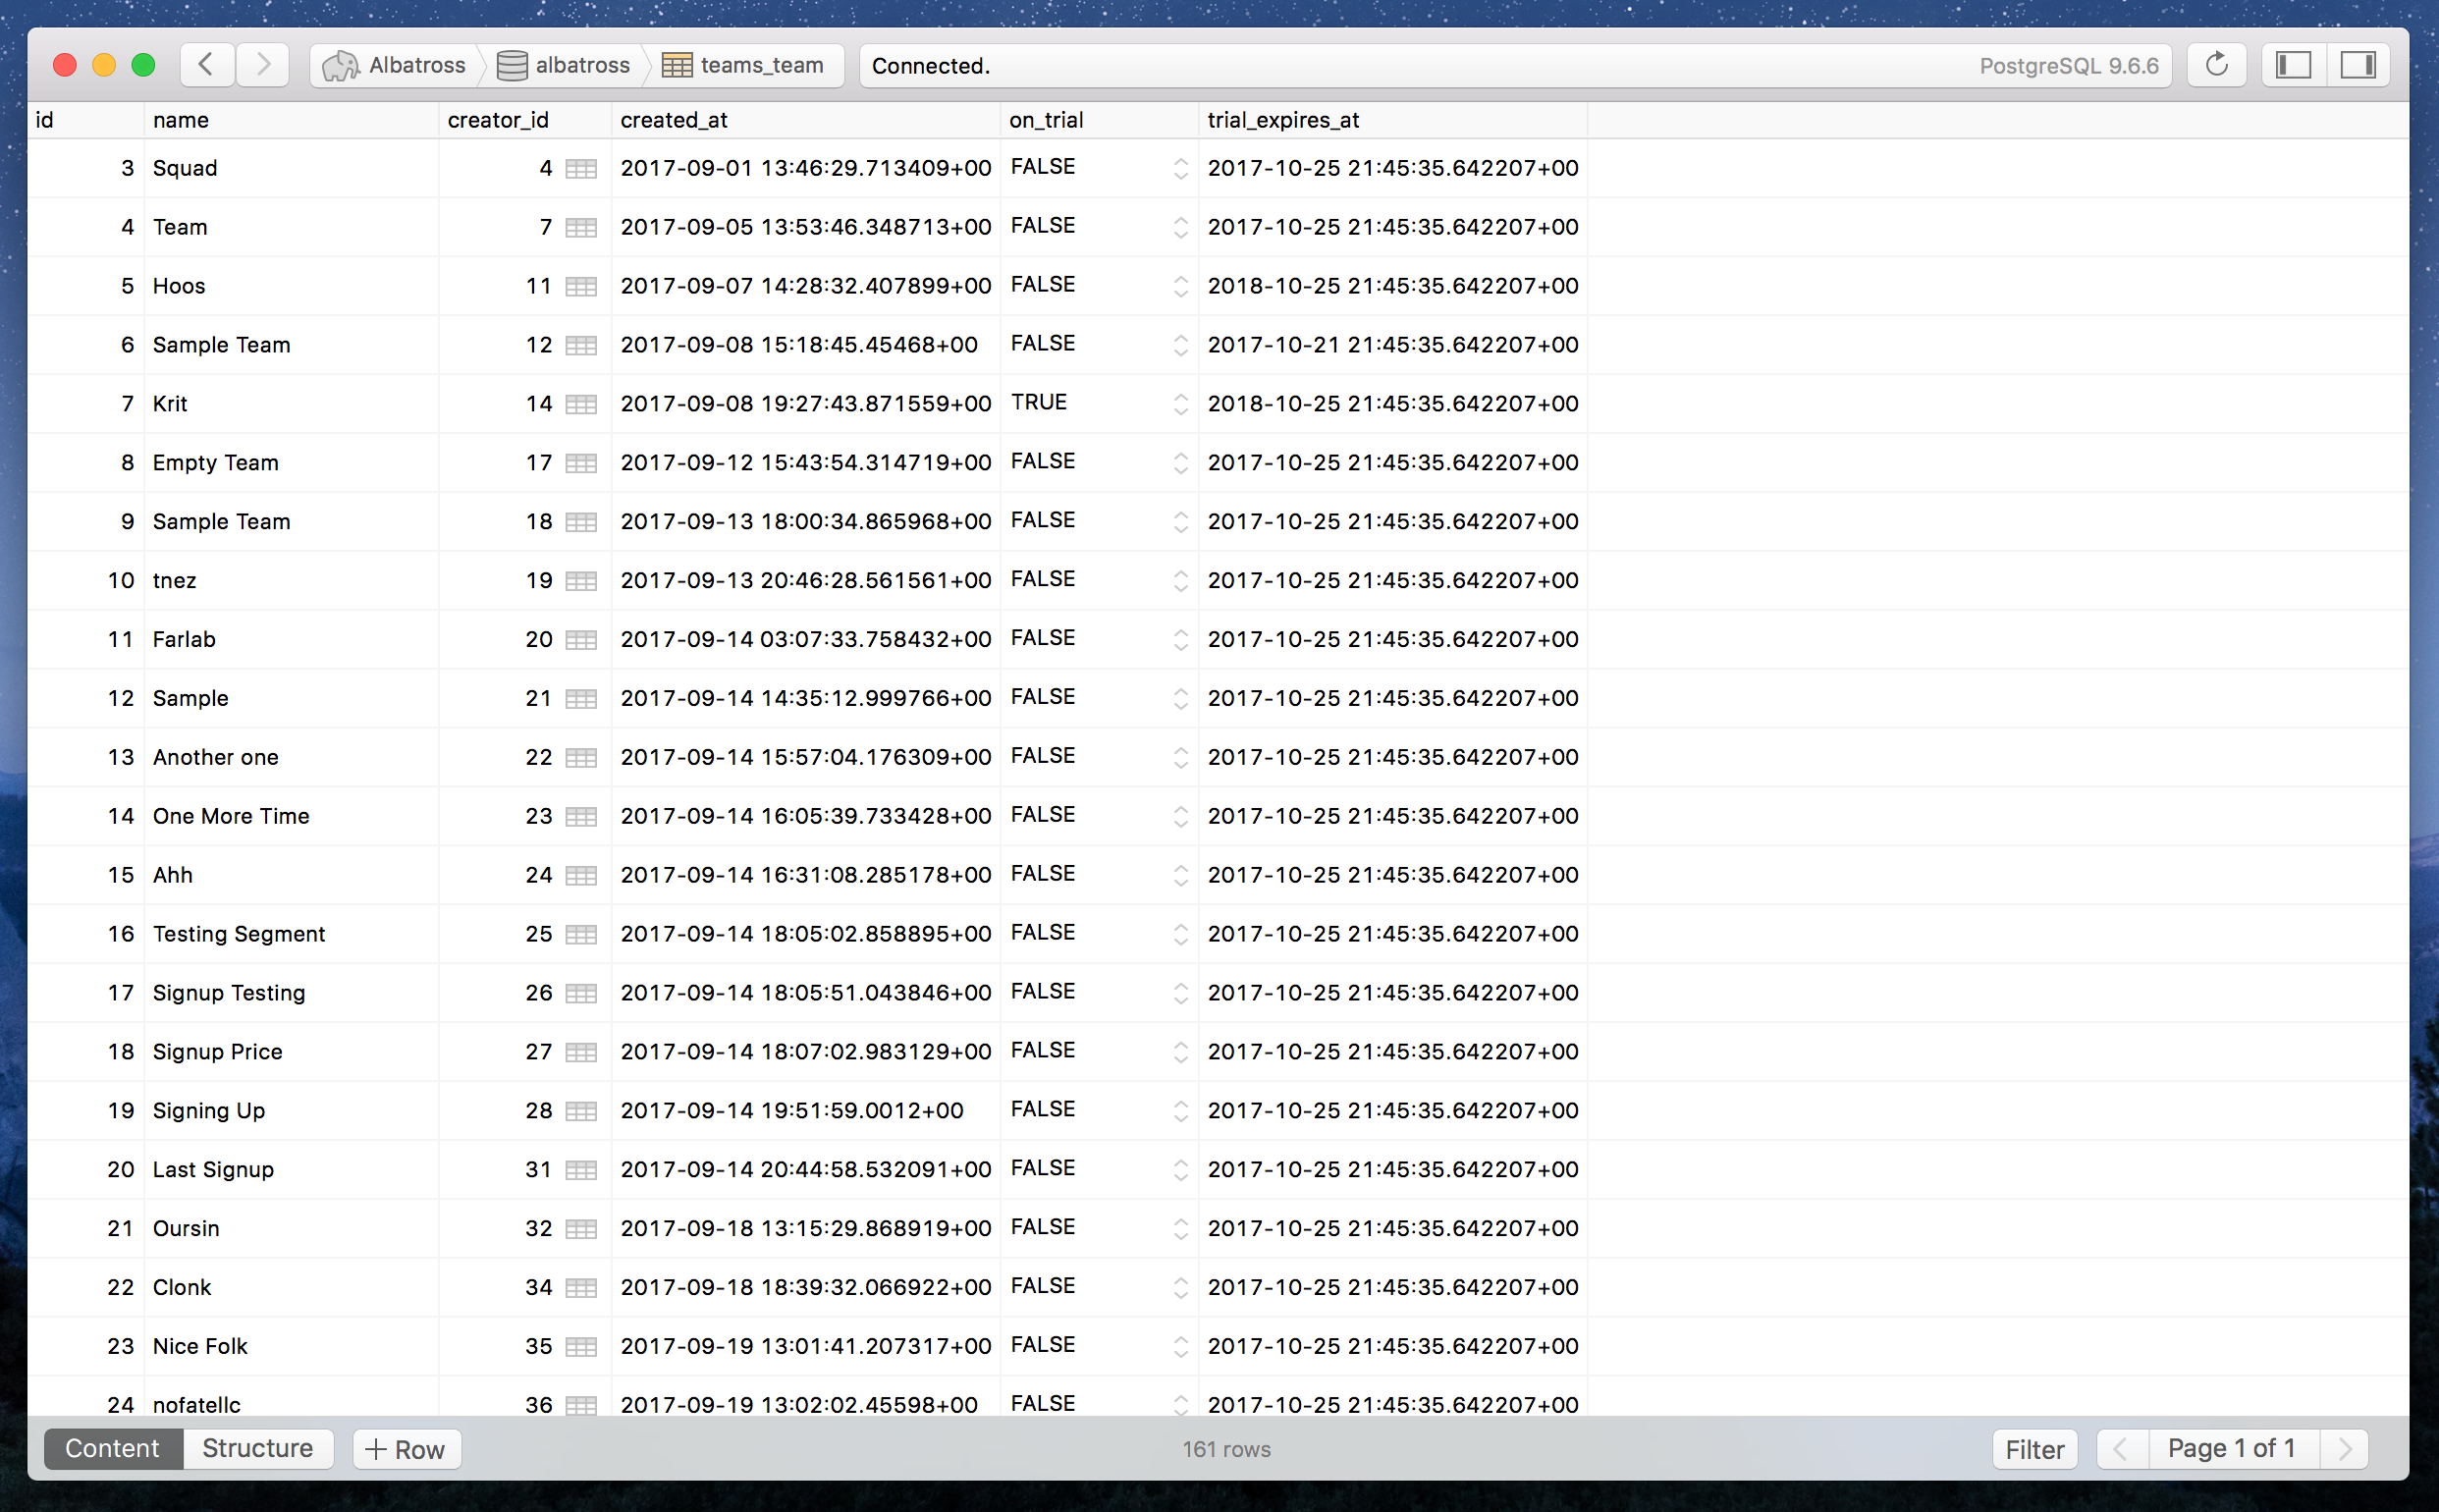
If you pay for Postico, it will let you run filters on your table.

When you’re ready to run your own SQL queries, go back to the main page and click “SQL Query.” Enter your command and click, “Execute Statement.” You’ll either get an error, or something like the picture below.
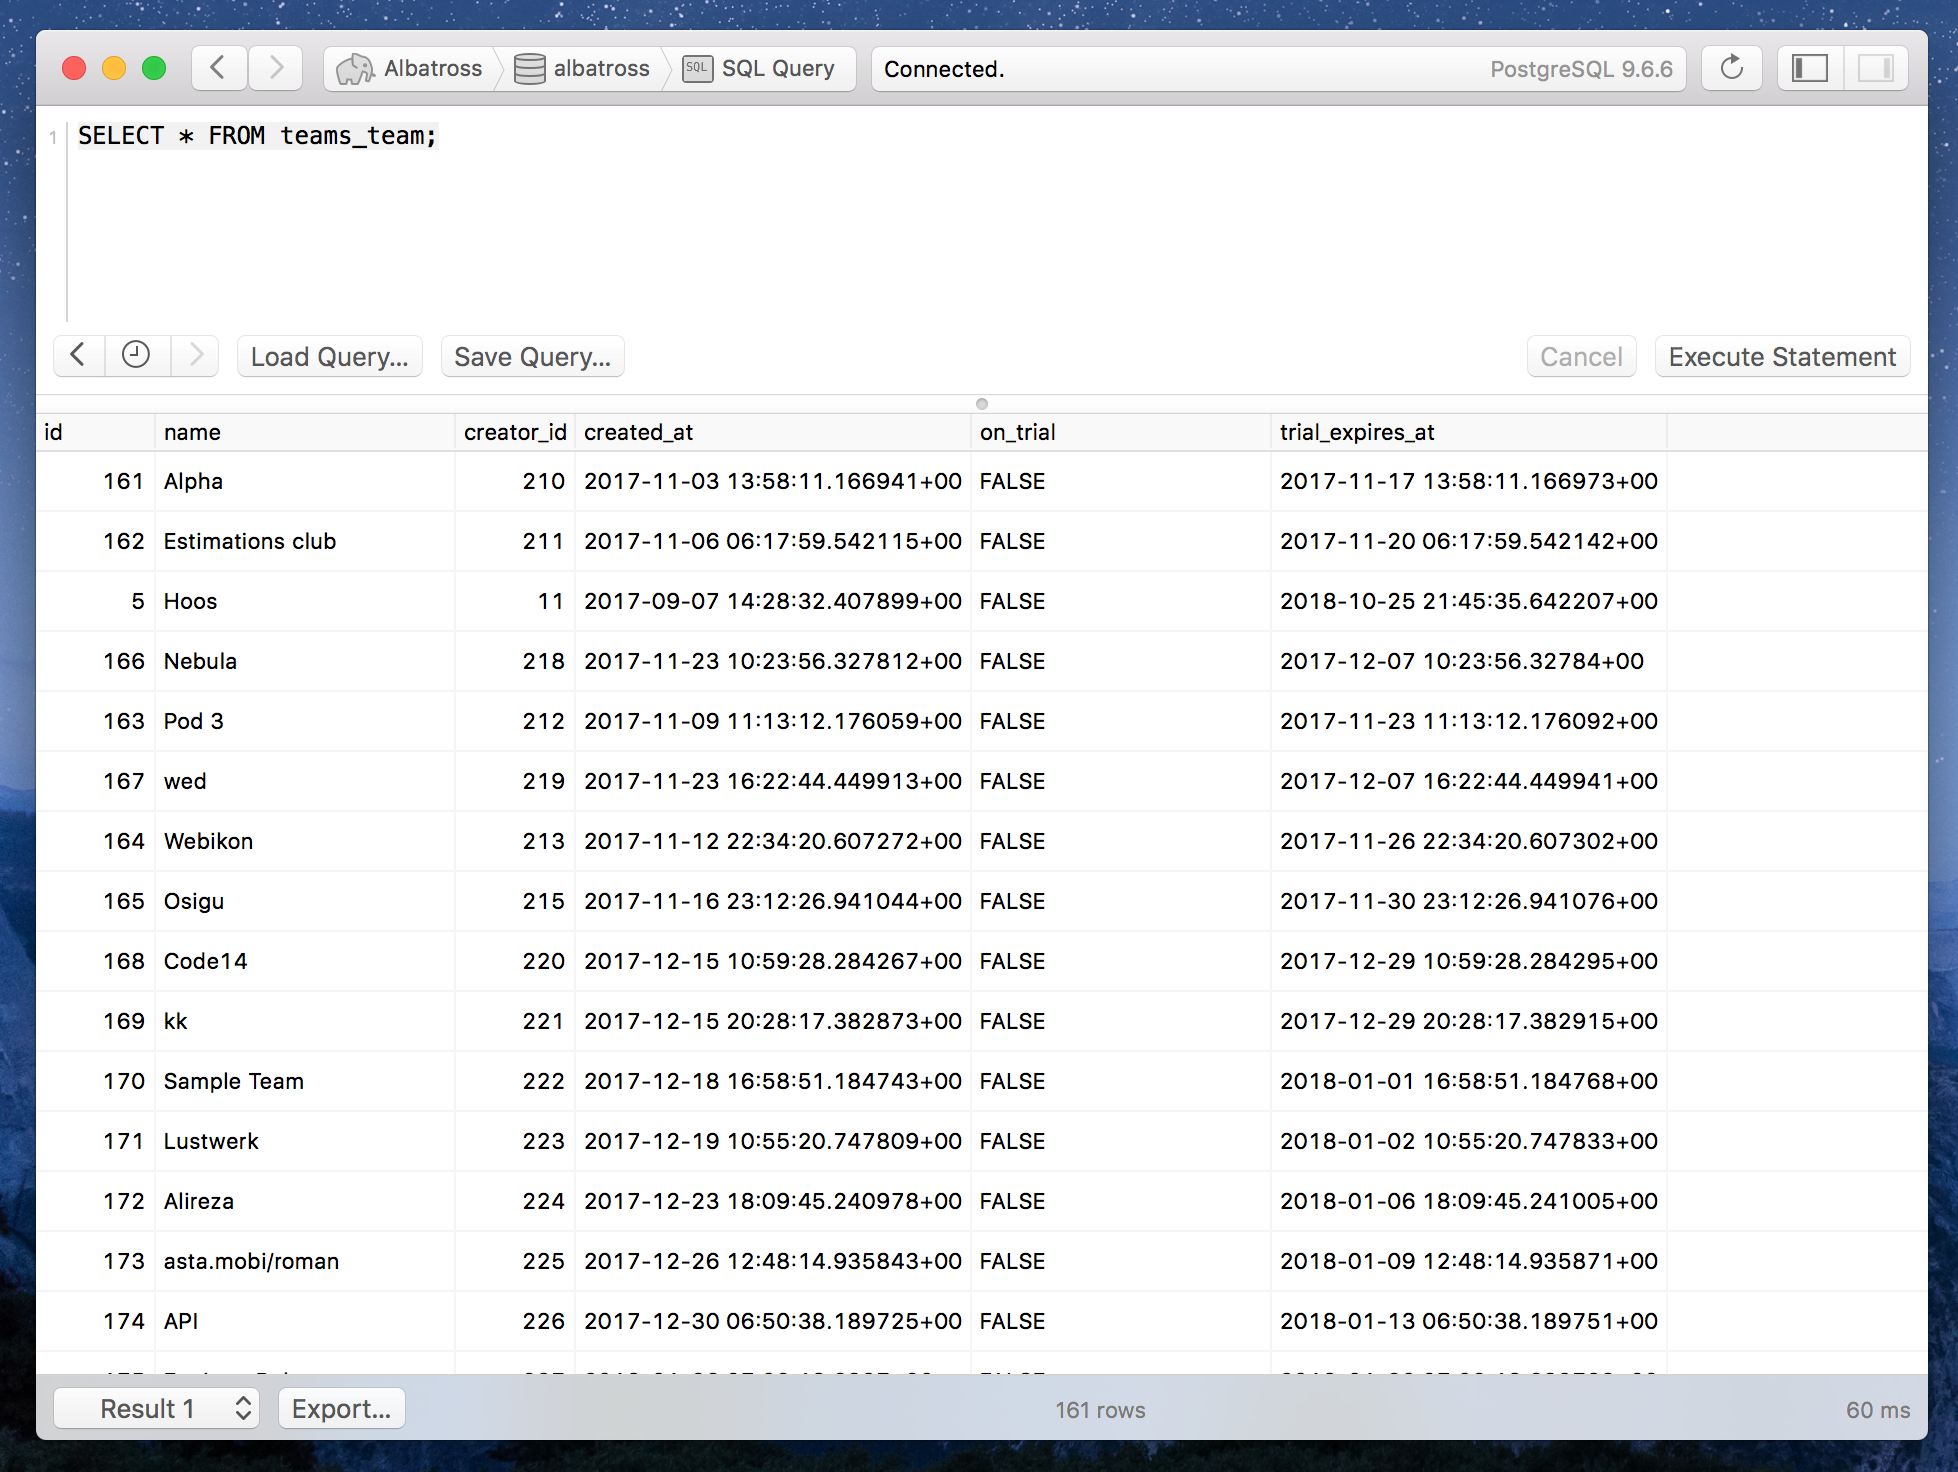
And that’s it! You’re now in your database and running queries.
As I mentioned above, Postico is a Mac app. If you’re on Windows, there are a couple of good alternatives you can check out. They’ll be pretty similar, but a little more complicated to get setup.
I’d recommend PGWeb because it actually looks like it was built in the 21st century. It’s free to use and you can download it here:
https://github.com/sosedoff/pgweb/releases
You’ll want to download the file titled, “pgweb_windows_386.exe.zip” or “pgweb_windows_amd64.exe.zip” if you’re on a 64 bit system (ask your nerdy nephew).
TablePlus also says they’re working on a Windows version, so you may want to keep an eye on them.
5 SQL queries every non-technical founder should know
Now that you’ve got Postico all set up, it’s time to learn a little SQL. Here are five SQL queries that will help you analyze your data, along with tips on why each one is useful and how they work.
1. SELECT(id, email_address) FROM users;
This query will pull a list of the ids and email addresses for every user in the users table of your database (every row in a relational database has some sort of unique id).
Let’s break this down piece by piece:
The SELECT identifier tells the database what fields we want to pull. In this case, we’re just pulling the email_address and id fields. It’s important to write the names of the fields exactly the way they are setup in your database. If your database has a field email-address and you write SELECT (email_address) the query won’t work.
Note: use * to pull every field in the row.
Next is the FROM identifier. This tells your database which table we want to pull the fields from. A table is just like a sheet in Excel. In this case, we’re pulling the id and email_address FROM the users table.
That’s it!
2. SELECT(id, email_address) FROM users WHERE deleted_at IS NULL;
Now we’re introducing a new element, the WHERE. The WHERE clause lets us pull just the email address and id from specific rows (or records) that match our conditions. We want to pull the records WHERE the field deleted_at IS NULL. Typically with a WHERE clause, you use IS to specify the conditions. So the field we’re checking comes first, and then what we want it to match.
Now, you may be asking why we want deleted_at to be NULL. If a user hasn’t been deleted, this field will probably be NULL or empty. A deleted_at flag is a common way of “soft deleting” a user. You remove them from the system, while still making it easy for them to recover their account if they come back. We’re effectively pulling the ids and email addresses for all active users.
3. SELECT count(id) FROM users WHERE deleted_at IS NULL;
Notice the difference here?
Instead of just using SELECT to fetch the ids of active users, we’re adding a function - count. This returns the number of users WHERE deleted_at IS NULL. This query gives us the number of active users for our app!

The count function is incredibly useful when you need to calculate statistics for your product. You could count the number of active users, or the number of users who have finished filling out their profile, or who have created a project.
4. SELECT count(id) FROM users WHERE bio IS NOT NULL AND company IS NOT NULL;
We’re adding another small, but important, piece with this query. We’re using the AND operator here. The AND operator lets us check multiple fields at once. In this case we want to see the number of users that have filled our their bio AND the name of their company. So we use the same query as before, only we add an additional clause with AND.
5. SELECT round(avg(age)) FROM users WHERE age IS NOT NULL;
This final query introduces not one, but two new functions! And guess what, you can stack functions in SQL. That’s neat, huh?
The first function is avg. As you might have guessed, avg calculates the average of the fields you indicated. Here, we’re pulling the age of all of our users and calculating the average.
The outer function is applied second, which in this case is round. Again, this is a fairly straightforward function, it just rounds the result of our avg function. This query calculates the average age of our users, and then rounds it to an actual age so we don’t get 23.7.
What next?
Now, you have five SQL queries you can start using to pull data from your database right away.
This is a great start, but we’ve only scratched the surface.There’s still so much you can learn and do with your database. The more you learn about interacting with it, the more power you’ll have over your data. And you’ll earn some cred with your developers.
If you’re a DIY kinda gal, you can use the W3schools references to quickly pick up some additional tools to try.
Or if you prefer a little more guidance, check out Khan Academy’s awesome course on SQL for beginners.
Thanks so much for reading! Do you have any questions on what to measure, getting around in your database, or anything else? Hit me up on Twitter.